
# Importing and Managing Skins
This section covers importing and Managing skins.
# Accessing Skin Manager
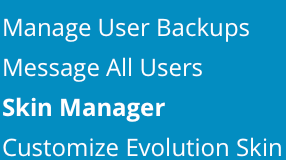
To access Skin Manager, sign into the control panel and then click on the "Reseller Tools" icon, followed by the "Skin Manager" link.

Your account comes with two skins: default (old graphical interface), power_user (text interface) and evolution (brand new graphical interface with customisation features, advanced search engine and much more).

# Uploading Skins
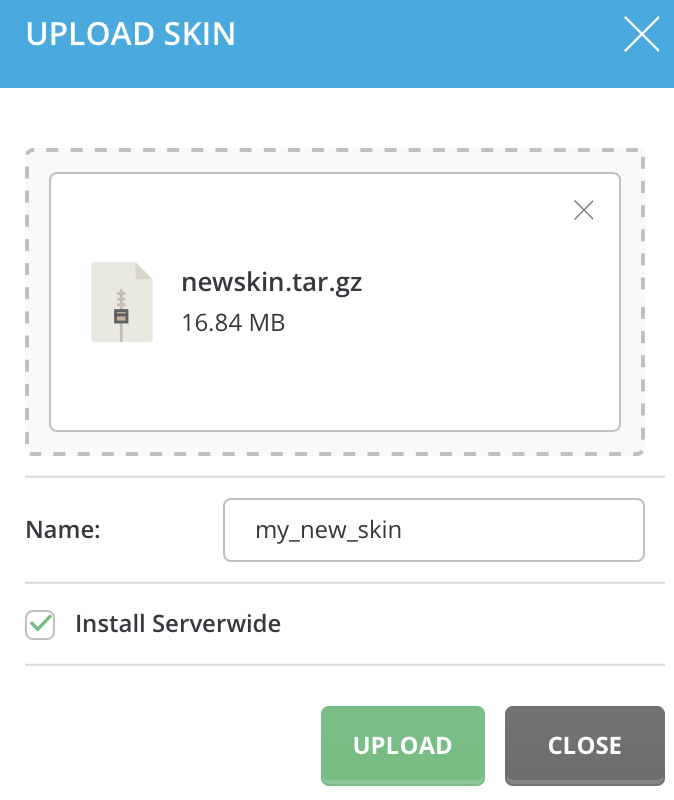
To upload a skin, first click the "Upload Skin" button at the top of the page. Skins files take the form of skinname.tar.gz.
Second, Drag&Drop desired skin or click on the "Drop file here" box and select skin file from your computer. (do not use spaces or special characters in skin name).
Third, enter skin name(do not use spaces or special characters) and click the "Upload" button. The new skin should appear in the above table after the upload is finished.
# Manually Uploading Skins
If you cannot upload a skin via the web-based file transfer, you can install the skin manually:
- Extract the skin file on your hard drive (keep the directory structure intact). Skip this step if using SSH.
- Make a /skins folder in your /home/username directory (the first directory you see when you FTP in).
- Make a folder for the skin, and this folder will be the skin name.
- Upload the extracted files to the directory named after the skin, keeping the directory structure intact. If using SSH, decompress the files to this directory.
e.g. Upload to /home/username/skins/mygreatskin/{skin files}
# Applying Skins
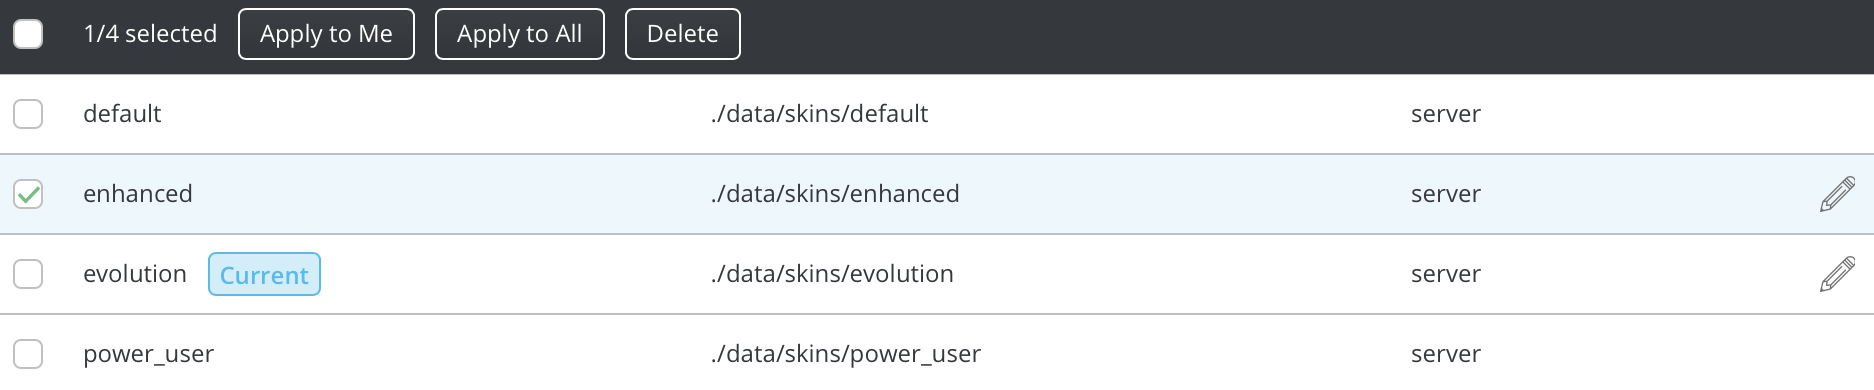
To apply a skin (make it the current, active skin) check the box next to the skin you want to apply and then click the "Apply to Me" button or "Apply to All Users" button. If you apply the skin to yourself, only you will see the new interface. Clicking "Apply to All Users" button will make the skin default for all your Users (they will now see the new skin when they use the control panel.)
# Applying Skins to Individual Users
To apply skins to individual users, click on the "Account Manager" icon from the control panel, followed by the "List Users" link. You can find more information about modifying users here.
Click on the desired user, press "Actions" button and select "Modify User" link. At the botton of the page, select desired skin next to "Skin" value, then click "Save" button.
# Deleting Skins
To delete a skie, place a check next to the skin you want to delete and click the "Delete" button (you can delete multiple skins at once). Please note you cannot delete skins owned by the Server - you must be the Skin Owner to delete a skin.

Note: If you delete a skin that is in use by your Users, they will automatically be set to the server default theme.
# Customising Skins
In order to customise skin, click on the  button in right corner of the skin table.
You can upload custom logo, and set custom colors. To upload logo, simply Drag&Drop desired file or click on the "Drop file here" box and select image from your computer.
Feel free to experiment as you can always reset to default settings after making changes. To reset settings, click on the button and press "Reset Logo/Colors" button(s).
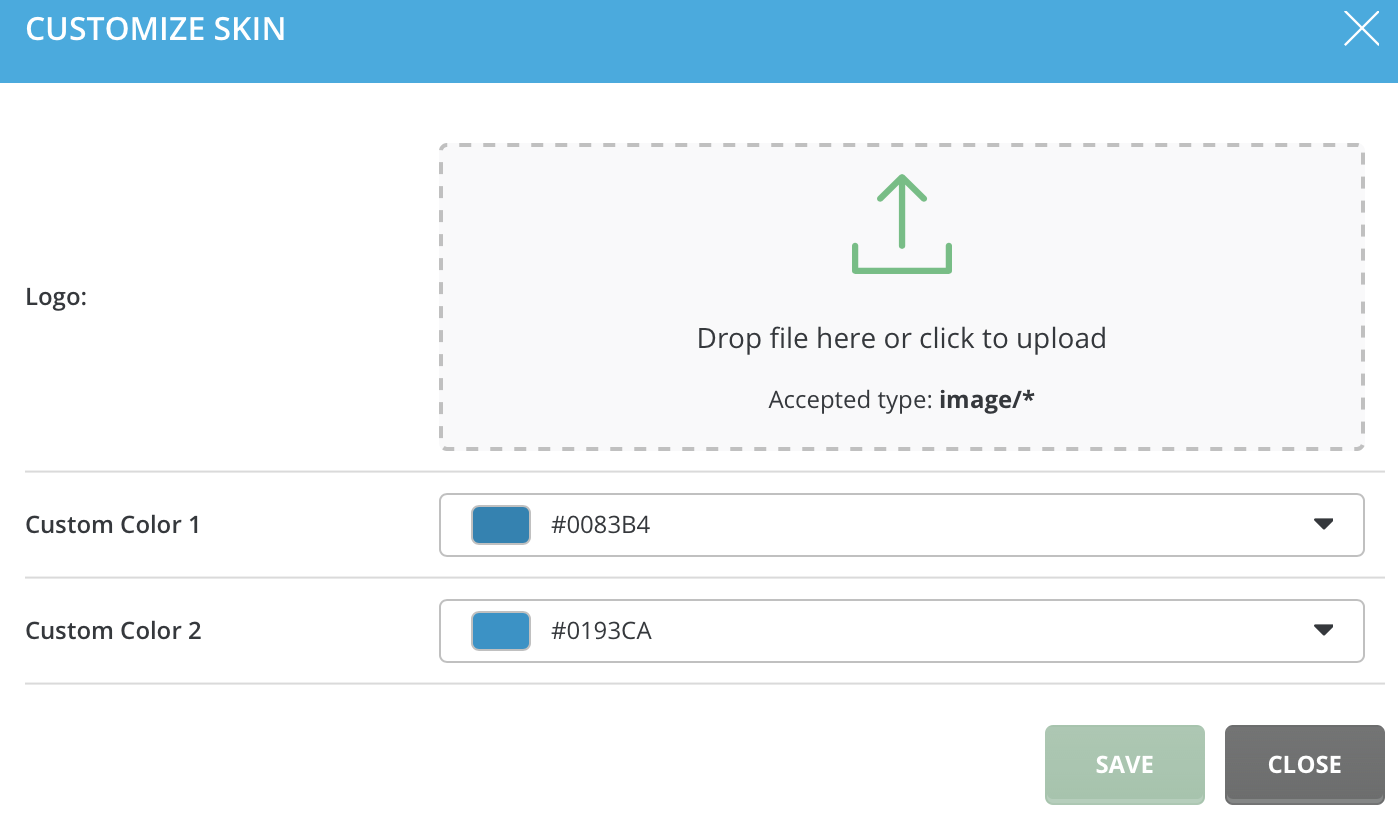
Note: This is only express customisation settings for Evolution skin. Evolution skin provides much more advanced customisation features such as custom Control Panel entries creation, Custom icons for control panel menu and much more. You can find advanced Evolution skin customisation guide here.
# Writing Skins
Visit http://www.directadmin.com/skins.htmlopen in new window to learn how to write your own DirectAdmin skins.
# Need more help?
Please contact your hosting company for more assistance, or visit the DirectAdmin support forum at http://forum.directadmin.comopen in new window.
